Thursday, May 31, 2012

Ukulele Day 21 Fret

Last time, we glue/sand the fingerboard.
Today, we'll insert the fret.
Firstly, we check the fret slot depth.

The fret slot depth must be between the 1st and 2nd line of this guage.
In this photo, it is a bit too deep, but it is fine.
If we would put dot inlay on the fingerboard, we would install in this step.


Then, we use hammer to install the fret on each slot.
We'll trim the fret later.


Next time, we'll shape the neck.

Wednesday, May 30, 2012

Ukulele Day 20 Finger board

Here is the result of gluing neck with body.


Then, we sand out the neck surface so that the surface is level with the top.
We prepare to glue the fingerboard with this neck. (with a tiny wood as a jig)


After the fingerboard is attached/glued with neck, we then sand out to level this fingerboard again.

Picture shows some marks. This fingerboard is not yet flat enough.

After 1 hour, the mark looks better...

and...here is our final perfectly flat fingerboard.

Thursday, May 17, 2012

Ukulele Day 19 Neck assembly

This is what we did on the previous day.
We earn more experience from the top's binding, so we did it great at the back's binding.

Nice 3 binding joinery.


Size compared with another soprano ukulele.


Next, we prepare to drill dovetail to connect the body and neck together, with this jig.


Use trimmer with straight bit.


Neck...before..


Body...


In the afternoon, it is raining.
Thus, we need to halt our activity for today. (Rain causes high humidity and it impacts glue performance).

Ukelele Day 18 Binding...Back

Today, we check our top's binding.
Yeah...quite great, but there is still some minor part that we need to clean it.
Anyway, we use a small plane to level this top's binding.

Next step is to glue the back's binding.
Because we need to glue it fast and at once, we have no hand to take photo.

Check the result in the next day.

Tuesday, May 8, 2012

Ukulele Day 17 Peg head decor.

We try with another butterfly inlay.

So sad that they are all cracked by clamping.
I would do it again with our next ukulele/guitar and change the way we catch this thin piece of pearl.

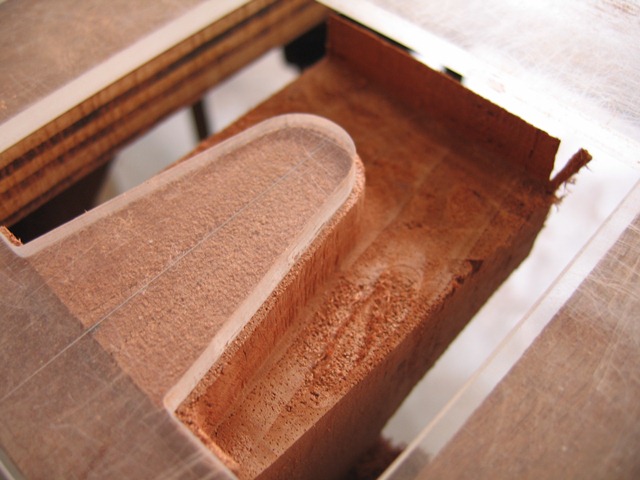
Outline the butterfly and chisel the pegboard.


Glue with epoxy and sand it out.

Next, we use heat tube to reshape the binding.


Also, we prepare a black block of ebony to do the end inlay.


Then, we glue the peg head with neck part.


In the afternoon, we use trimmer to do the binding part on the chamber.


On the back binding, we need to leave a tiny section so that it connects with our white-black binding.

And chisel is our hero to do this job.
Back+Top

Back+Bottom


Then, we glue our white-black binding on the top.
(we can do the binding on the back at the same time, but I prefer to do it step by step)

Duck tape, and nylon rope helps us to clamp the binding with top.